 Surfboard glassing is one of the steps in completing surfboards designs. While it may appear intimidating at first, with the right tools, preparation and by breaking the process into steps, the process becomes easier. Although it takes some time to perfect the glassing art, by following a few important steps, you can do a good glassing job, even if you’re glassing for the very first time.
Start By Deciding on a Glass Schedule Start the glassing process by deciding on a glass schedule. A glass schedule is the term that refers to the amount of fiberglass you decide to put on a surfboard. This will determine the final weight and strength of your board. The more that is used, the strong the surfboard will be, but more glass results in a heavier board as well. The fiberglass for surfboards comes in rolls between 27-38-inches wide. Once you roll the glass over the board, you can cut it to the right width and length for the board. Surfboard fiberglass is measured by its weight for each square yard and the most common weights used on surfboards are 4oz and 6oz options.
Glass Schedules for Longboards and Shortboards Glass schedules generally vary between longboards and shortboards when you begin surfboard glassing. For long boards, the bottom generally has a single 6oz glass bottom and a double 6oz deck glass schedule. However, to increase weight and durability of a longboard, you can increase the glass schedule. For longboards, the max glass schedule should be 18oz for the top and 16oz for the bottom. Shortboards are a bit different and should have a minimum of a single layer of 4oz for the bottom and a double layer of 4oz on the top. Having extra glass on top of the surfboard helps keep it protected from pressure dings that occur due to bodily contact or the contact of your feet on the board. Of course, you can choose to go up with the glass schedule for additional strength, although it’s not recommended to have over 12oz of glass on top and 10-12oz on the board’s bottom.
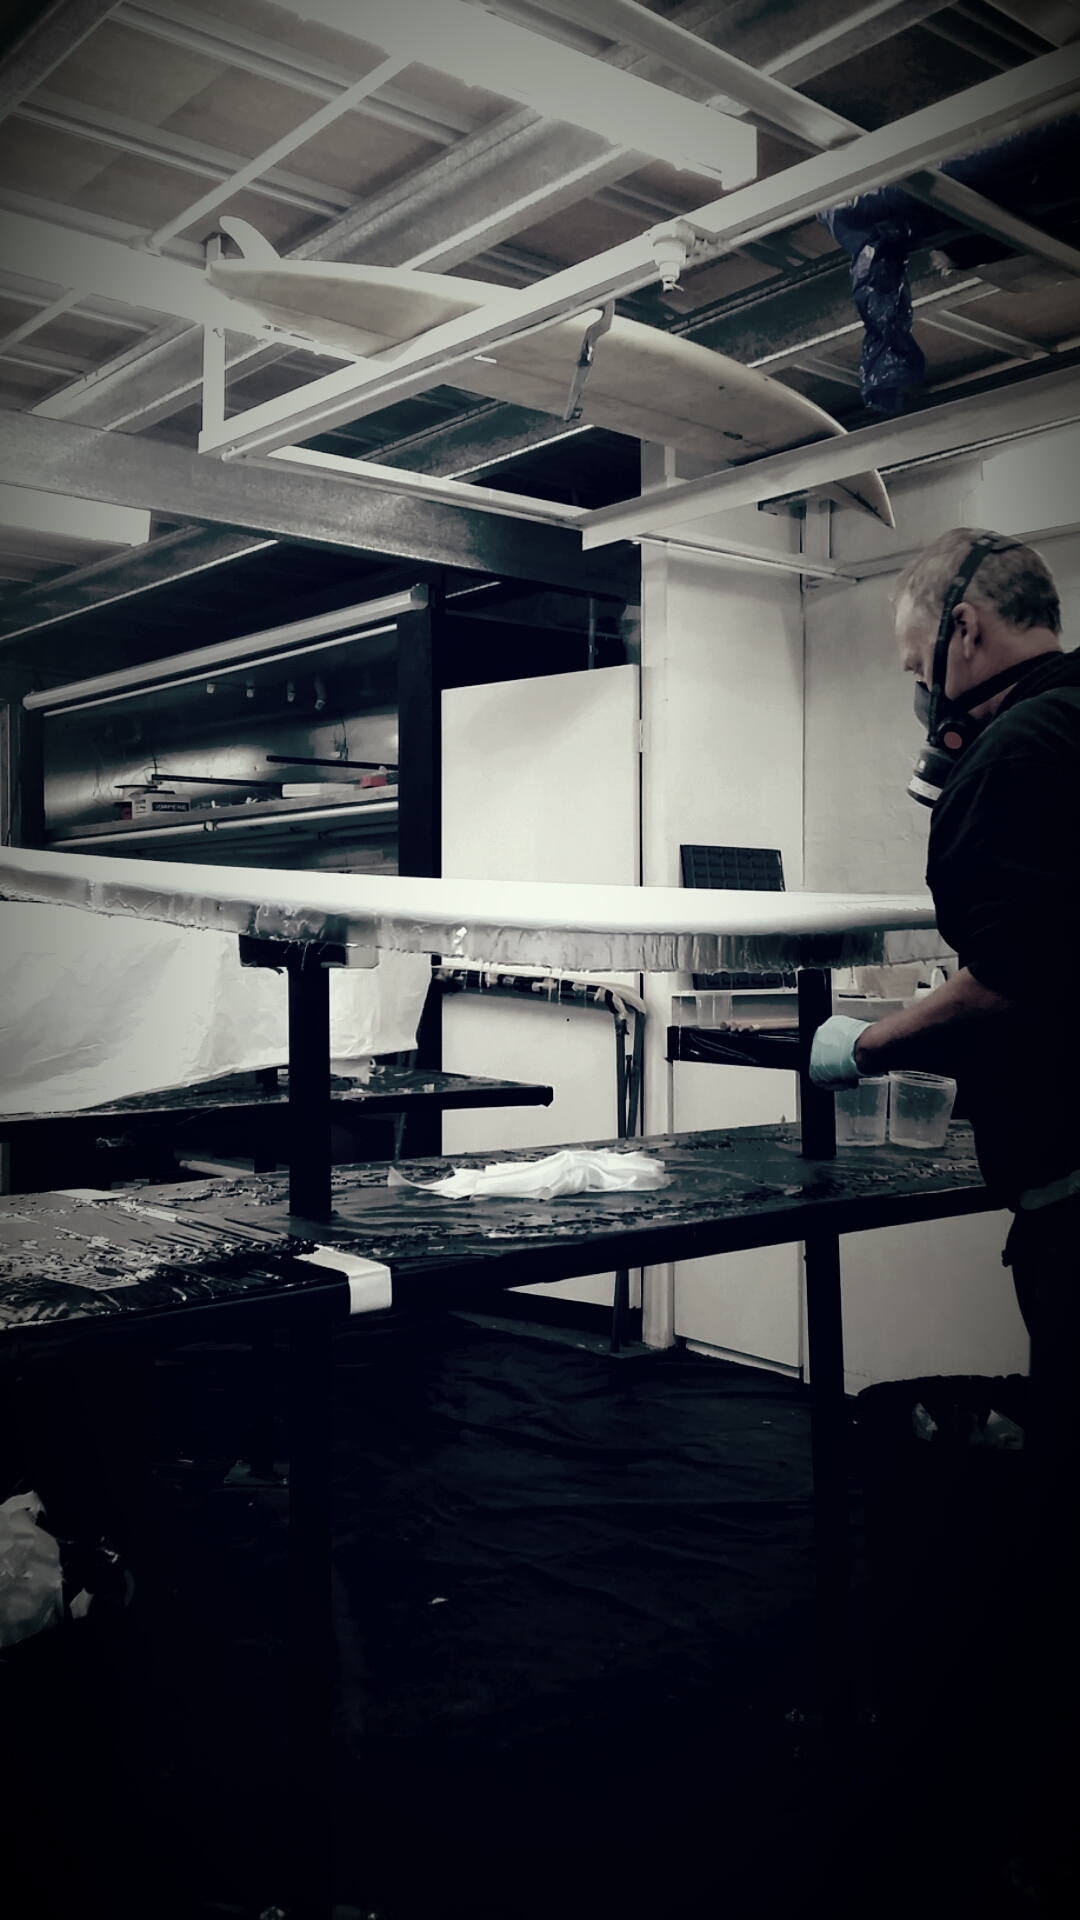
Laying the Glass The actual process of surfboard glassing generally begins with the lamination of the board’s bottom. The fiberglass should be laid out over the board and then cut with a bit of overlap left in place. For subsequent layers of fiberglass, you’ll need to leave a bit more of a border. Once the fiberglass is cut, ensure that any hanging fiberglass threads or uneven areas have been trimmed so you have a clean glass edge. Finally, a notch should be cut in the very top fiberglass layer at the nose and tail, allowing the glass to be folded under the board.
Applying the Resin Once the fiberglass is in place, it’s time to begin applying the resin. While several types of resin are available, epoxy resin offers flexibility, durability and has low toxicity. It is more expensive, but generally less epoxy resin is required than other types of resin. The resin will need to be mixed with a hardener before it is applied. Both slow and fast hardeners are available. Fast hardeners cure faster, while slow hardeners take a bit more time to cure. The resin to hardener mixture should be done at a 2:1 ratio based upon volume. If you want to make your own surfboard designs, you need to understand surfboard glassing. Glassing courses are available, teaching you how to laminate boards with different types of resins and offering information on tool choice, different materials, plug installation and more.